When you’re first learning to row it’s obvious that there’s lots of technique to master. But you also need to make sure your body is ready to row. Rowing physiotherapist Kirsty Hunter explains eight easy exercises you can do as a new rower to help you develop the mobility you need to row well and remain injury free.
What is mobility for rowing and why does it matter?
The term ‘mobility’ refers to the amount of movement we have around a single joint. Everyone’s mobility is unique to them.
By improving the mobility of your hips, pelvis and upper back you can get into a stronger and more efficient position when rowing. With these foundations of flexibility, you’ll also get better at rowing and fitter faster because you won’t have to miss sessions because of injury.
Understanding common rowing injuries
Rowing injuries do occur in both training and competition. Of all injuries recorded in both novice (beginner) and adolescent rowers, 38-65% involved the lower back due to the compressive and repetitive motion of the stroke.
The risk of sustaining a lower back injury in rowing increases with:
- Previous history of injury
- Volume of ergometer (rowing machine) training
- Mobility issues around the hips, pelvis and thoracic spine (upper back).
This guidance is designed to help you improve the your hip, pelvis and thoracic spine mobility.
What you can do to optimise your mobility
The exercises should not cause pain or discomfort and you should aim for symmetry on either side of your body. For under-19 and under-23 rowers it’s worth remembering that your bodies are still growing; in fact they continue to grow into the adult skeleton until your mid-20s.
Try to completed these exercises before every training session. If you’re not doing specific rowing training every day, it’s worth doing these daily if there are areas that need to be targeted. Little and often is the key to improving your mobility!
Pelvic mobility
As rowing intensity and distance increase, novice rowers and those with a history of back injury tend to use higher levels of lumbar flexion (in other words, your posture slumps) with limited pelvic rotation. This may increase the risk of sustaining a lower back injury. Therefore, it’s important that you’re clear about how the ‘pelvis tilts’ and what ‘pelvic neutral’ means so that you can get into a strong and effective position.
But how do I tilt my pelvis?
- Lie on your back with knees bent and feet flat on the floor
- Gently flatten your lower back onto the floor by tilting your pelvis backwards. Imagine you have a bucket full of water sitting on your stomach. As you tip your pelvis backwards the bucket will tilt back towards you, spilling water onto your chest!
- Return to the start position and gently roll your pelvis forward, creating space between your lower back and the floor. This motion is like tipping water out the front of the imaginary bucket onto your legs.
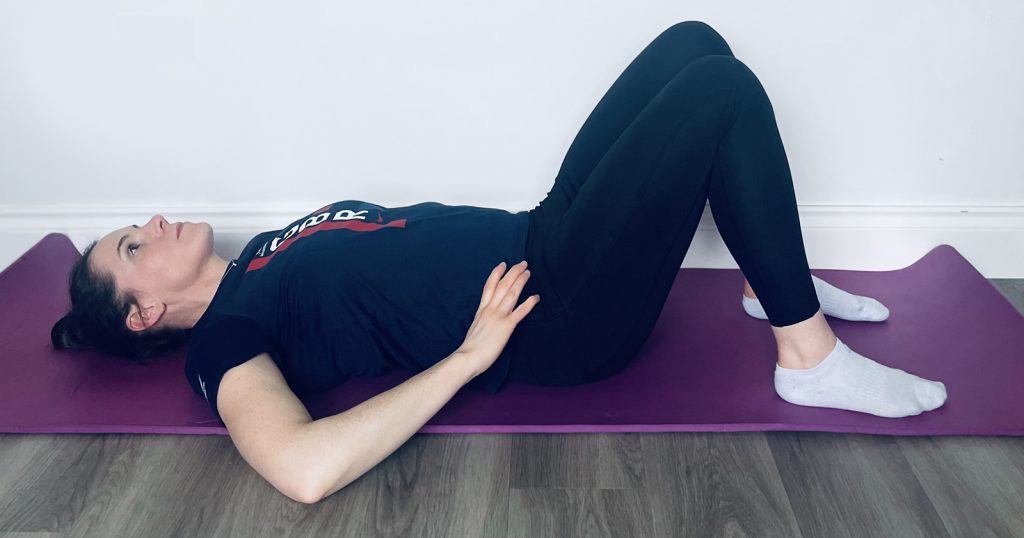
TIP: Work on mastering this motion first when you’re lying down or on your hands and knees. Once you’ve got that, try it in a seated position – like you are in a boat. The aim is to keep the body still above the belly button.
Hip mobility
The hip joint is a ball and socket joint that moves in several directions. Having a full range of motion in your hips reduces the stresses placed on your spine.
The main movements of the hips needed to row efficiently include:
- Hip flexion: bringing your knee to your chest
- Hip abduction: taking your knee/foot away from the midline of your legs
- Hip rotation: allowing sweep rowers to rotate around the pin in a twisting motion.
So how can I improve my hip mobility?
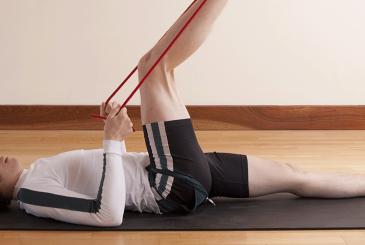
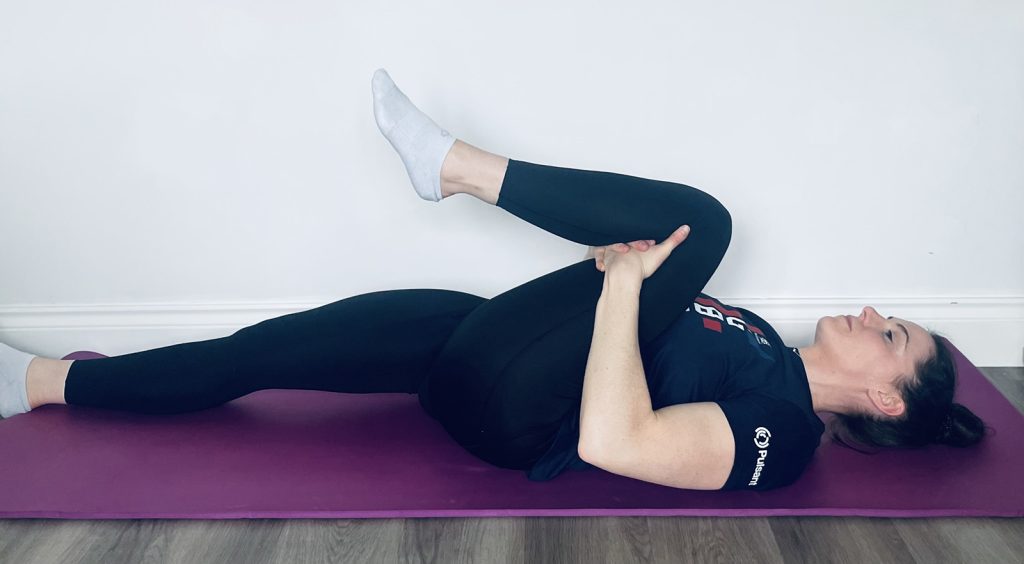
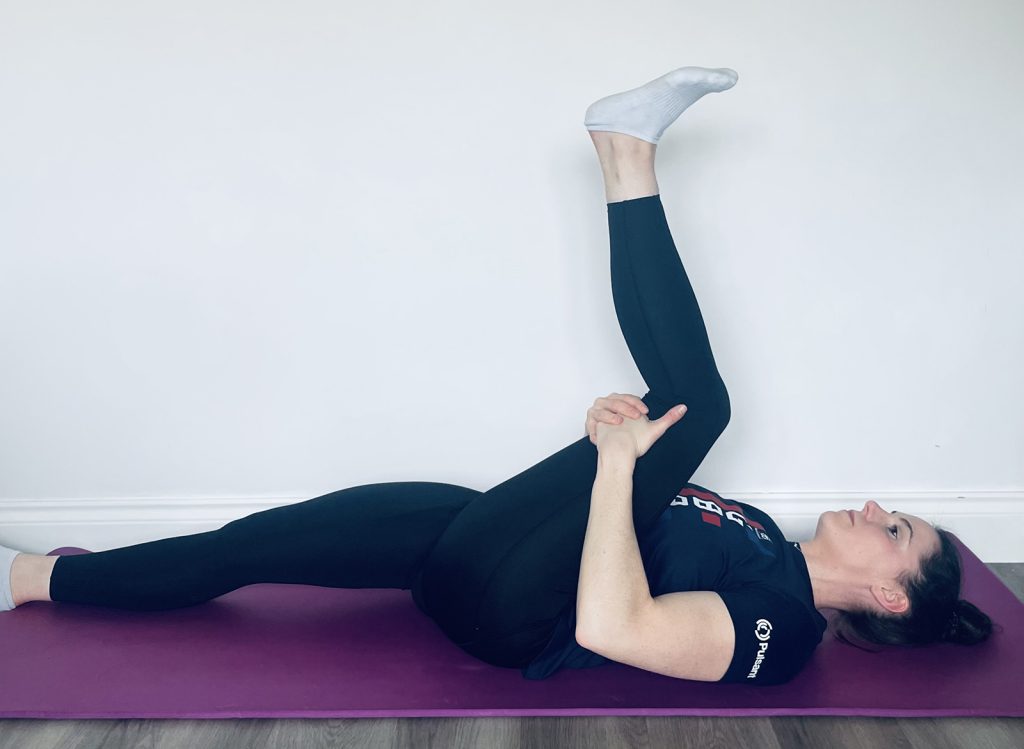
Hamstring exercise
- Lie on your back and hug one knee to your chest holding behind the knee
- Straighten your knee, feeling a gentle stretch in the back of your thigh – keep the knee close to your chest
- Repeat this kicking motion 15-20 times on each leg.
‘Bow like a waiter’ hamstring exercise
- Place one heel on the ground in front of you, with your toes pointing towards the ceiling
- Hinge forwards at the hips keeping your spine straight, but relaxed
- As you do this waiter’s ‘bow’ you will feel a stretch up the back of your thigh
- Repeat the same with your other leg – take around 16-20 steps.

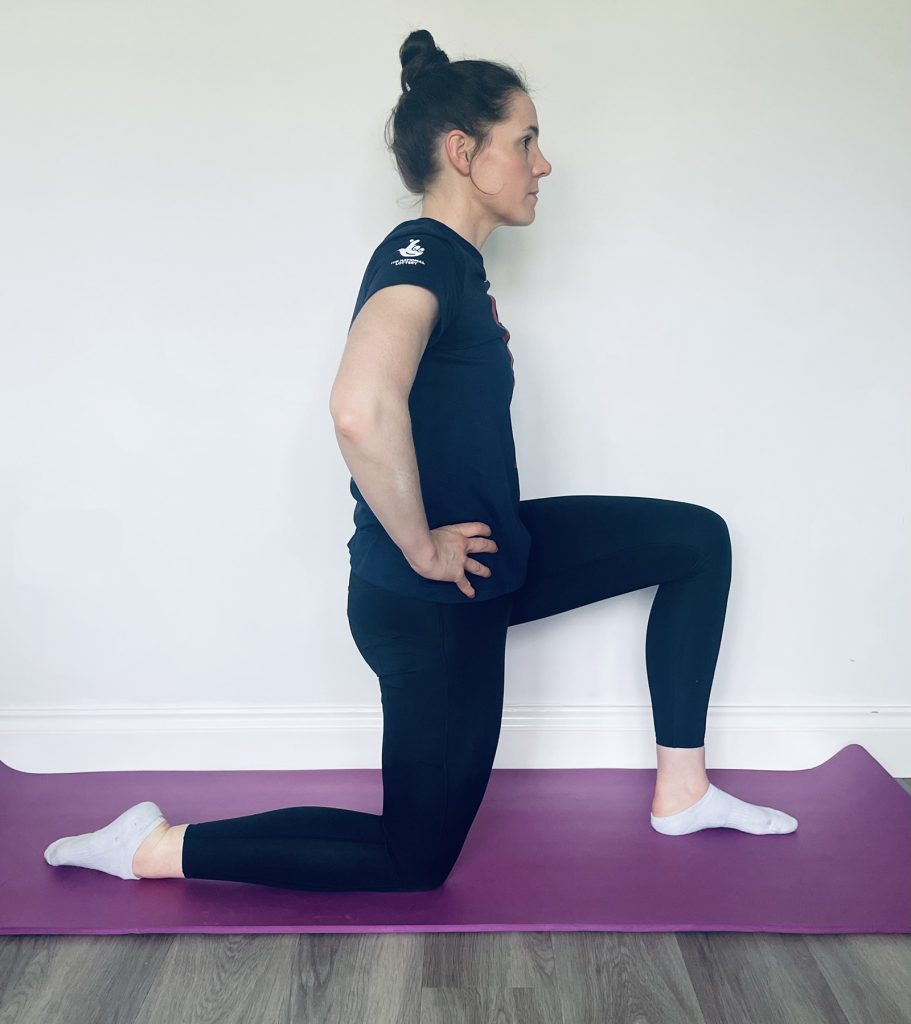
Hip flexor exercise
- Start in a kneeling lunge position
- Tilt your pelvis backwards so you feel a stretch through the front of your hip and thigh – like tipping water out the back of the imaginary bucket
- TIP: Avoid ‘lunging’ your front knee forwards over your toe
- Hold the stretch for 20 seconds and repeat 3-5 times each leg.
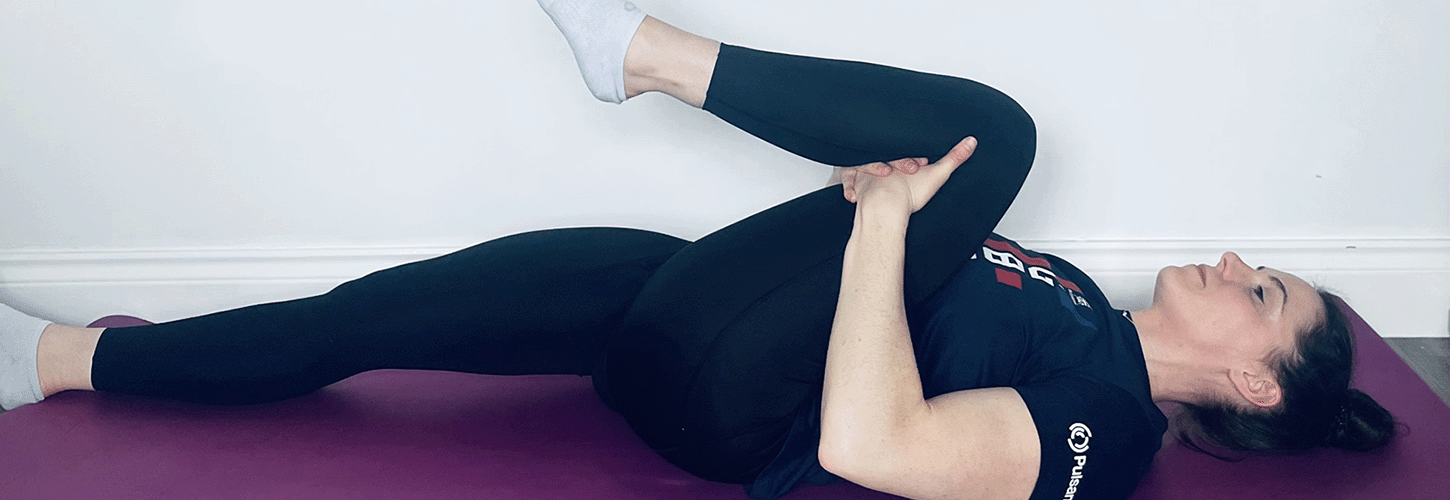
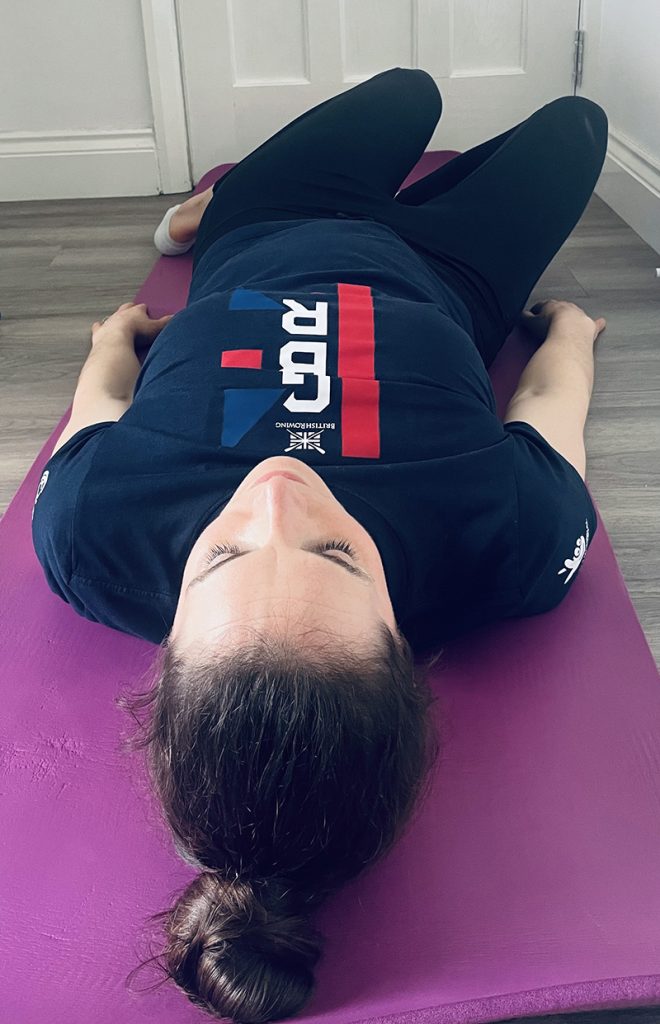
Hip rotator exercise
- Lie on your back with your knees bent and feet hip width apart and flat on the floor
- Drop your knees to the left then to the right, keeping your shoulders relaxed and only going as far as comfortable
- TIP: Start with small movements and progress as your mobility allows.
Thoracic mobility
Mobility through the thoracic spine is an essential part of the rowing stroke. Thoracic extension contributes to maintaining ‘good posture’, ultimately putting us in an effective position to transfer force from the foot plate to the oar and reducing the load through the lumbar spine. There is a strong link between pelvis position and thoracic extension.
Thoracic rotation is vital for sweep rowing in order to rotate (twist) round the pin. On land, you should aim to have the same amount of rotation left and right without pain or tightness in either direction.
How can I improve my upper back mobility?
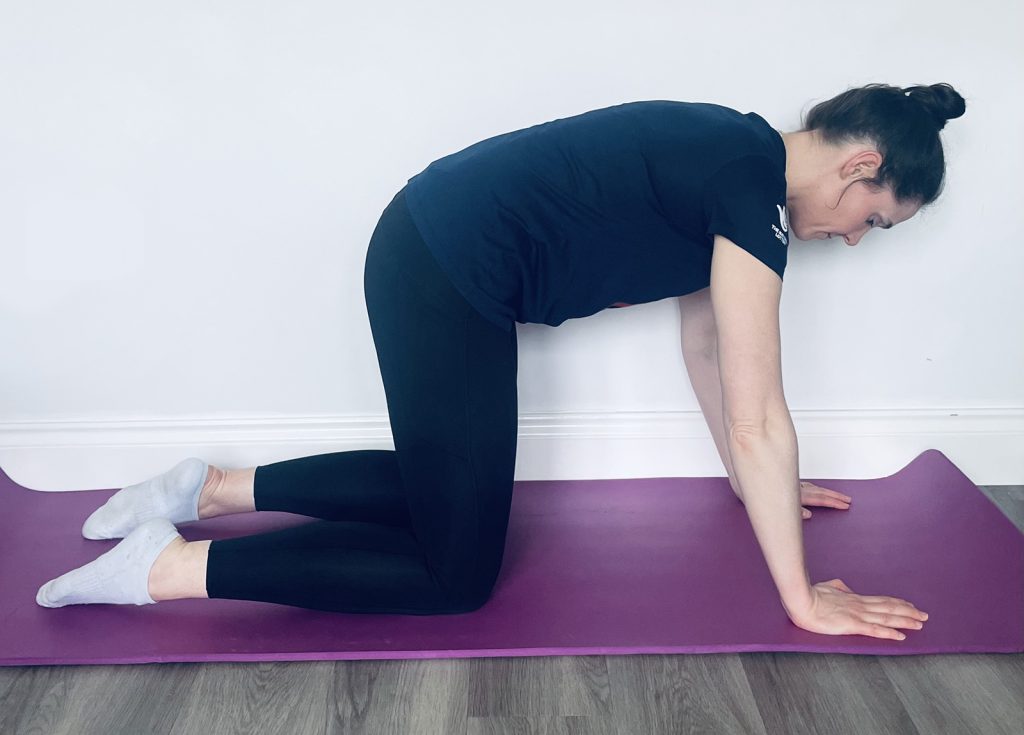
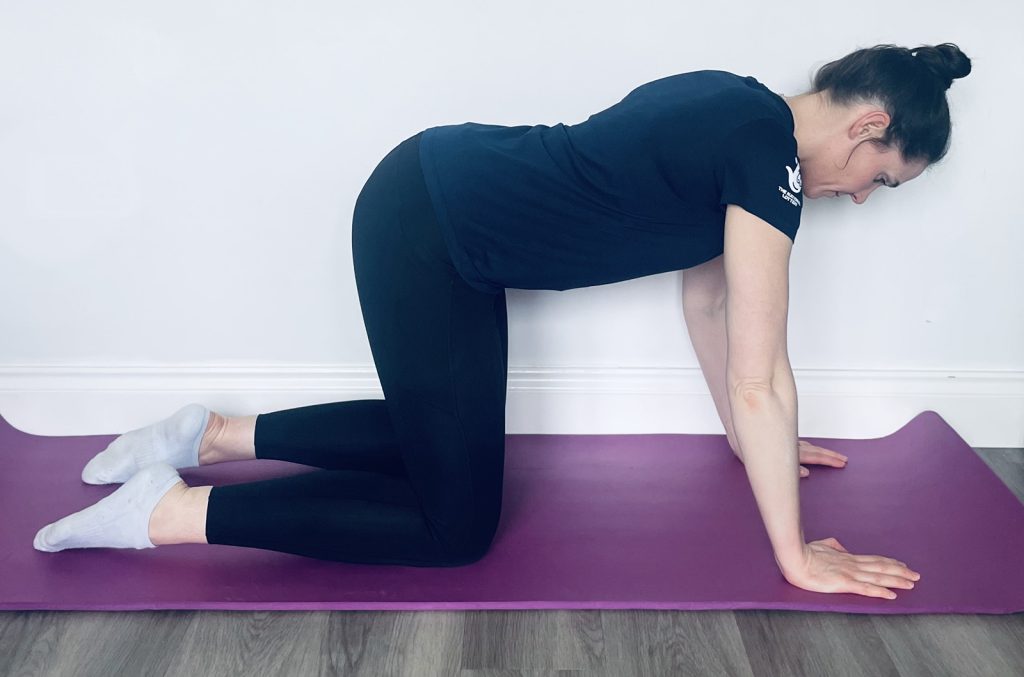
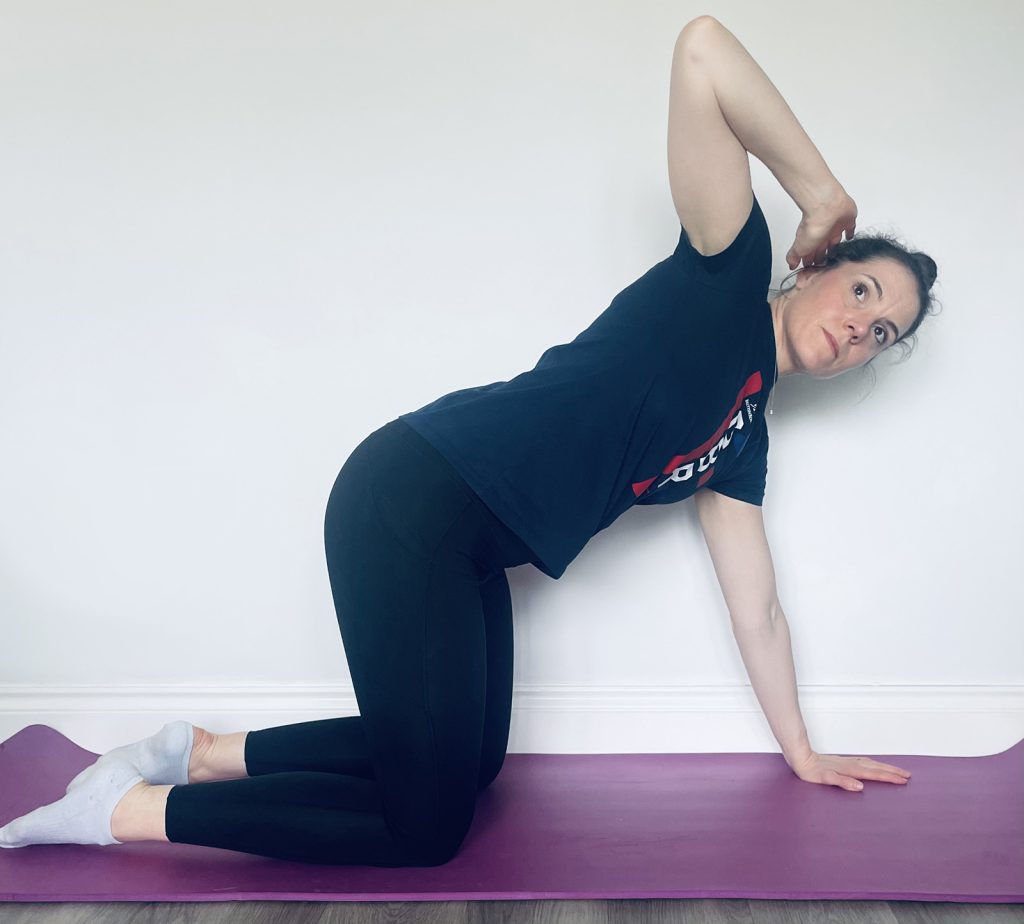
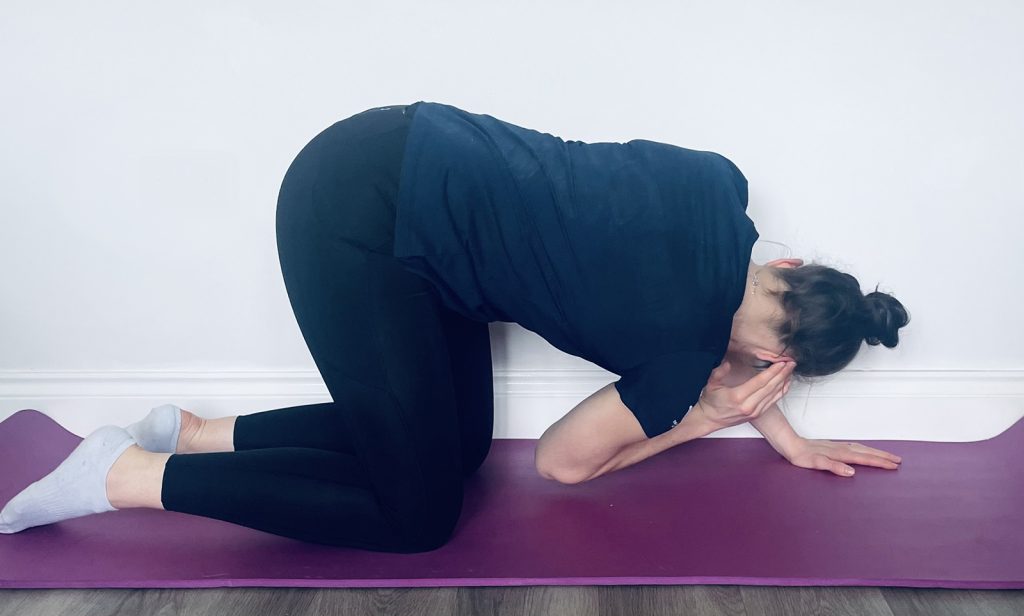
Thoracic rotation exercise
- On hands and knees, place one hand behind your ear with your elbow bent
- Take that elbow to your opposite knee then towards the ceiling
- Allow your head and chest to turn following the elbow movement.
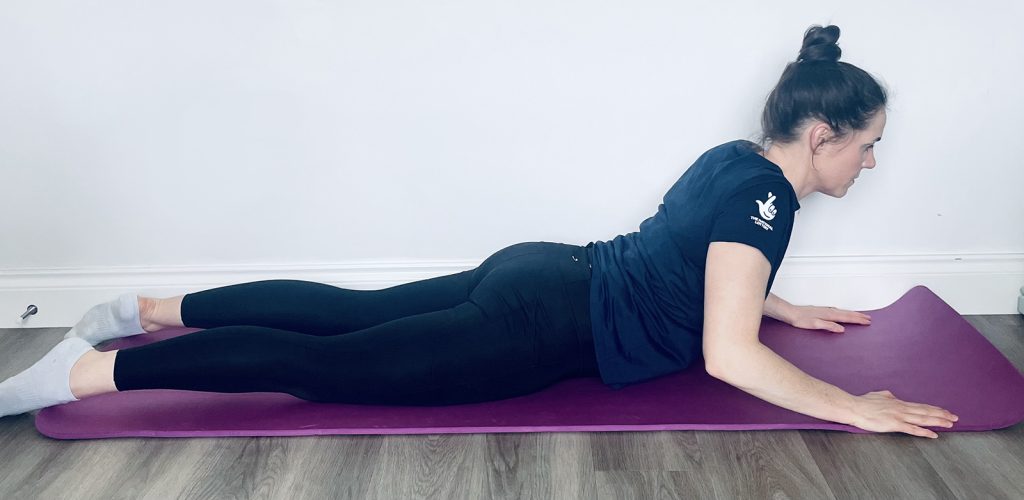
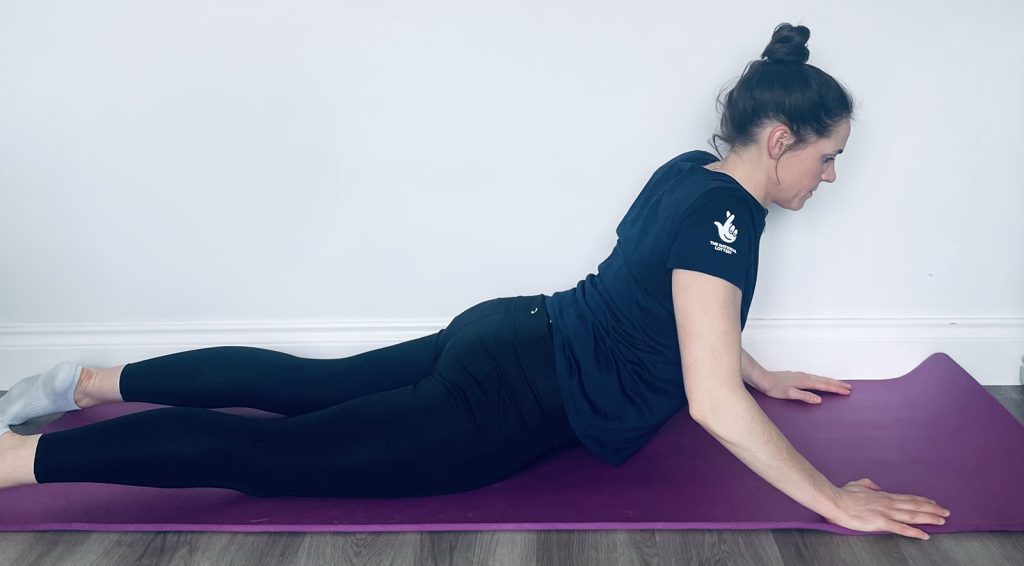
Thoracic extension exercise
- Lie on your stomach with hands flat on the floor under your shoulders and legs straight
- Either rest on your elbows with forearms on the floor or press through the hands and begin to take your chest away from the floor
- Keep your head looking forwards
- TIP: Make sure there’s no tension through your shoulders!
Testing your Progress
Having a good range and control of movement is an important area within ‘athleticism’, which is one of the key elements of British Rowing’s What it Takes to Win model. As a new rower, you can measure and monitor how your athleticism is developing relatively simply and quickly in the gym. The movements to test are:
- Squat
- Hinge (your body)
- Push
- Pull.
For each of these movements an athletic rower should be able to:
- Complete the movements repeatedly with good range and control
- Have the endurance to maintain good posture throughout and hold good form under load
- Translate the principles above into how they move within the rowing stroke.
With special thanks to Hannah Vines at Dorney BC for sharing her experience of novice rowing, reminding me of the basics of stepping into a rowing boat for the first time.
Photo editing: Beki McGee