Coach consultant Robin Williams analyses what your hands should be doing during the stroke
How do you hold an oar? It’s basic but important, and people often develop bad habits as novices that can be really hard to correct later on because their kinetic chain has become hard wired and their body is used to connecting and delivering power in a certain way. But it’s never too late to improve and most of us have some kind of idiosyncratic movement which could be sorted out if we took the time to deal with it.
Catch
Our checklist starts at the catch with the blade square in the water and the concept of a chain of pressure starting at the feet, passing through the legs, back, shoulders, and arms and finally connecting to the water via the handle. The chain has similarities with water-skiing, a tug-of-war, and even holding shopping bags because your fingers are simply closed around the handle while your legs, back and shoulders do the work. But rowing is, of course, an asymmetric movement and the chain can go wrong at the finish quite easily.
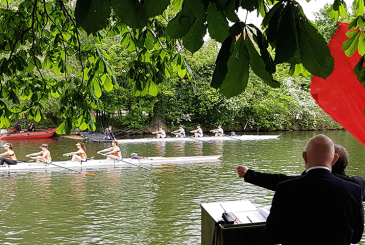
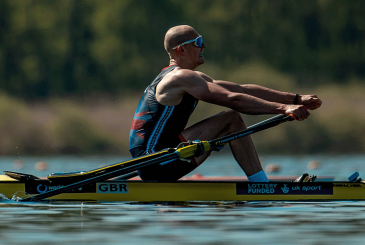
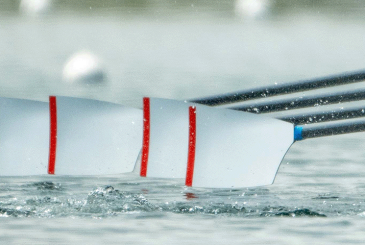
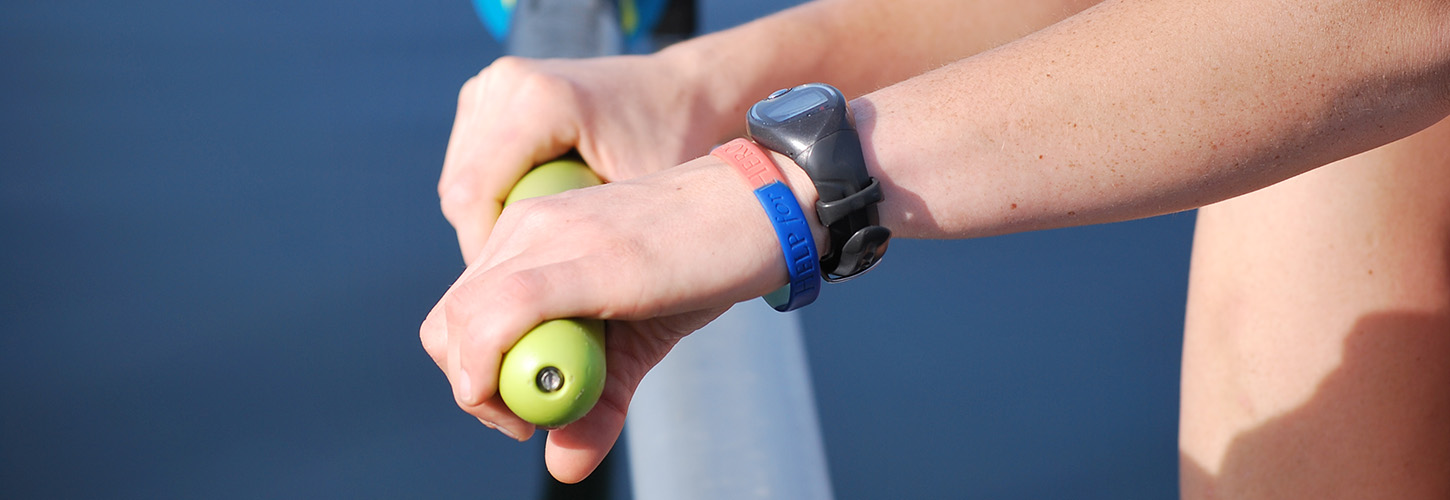
The photo at the top of this page illustrates the correct position of the hands at the catch.
Finish
At the finish, orthodox technique says you use the outside hand to press the handle down. However, if you row inside hand only (a very good exercise) you can pull through, press down, reach out and feather, all with the one hand just as you do in sculling. So in ‘normal’ rowing I like people to pull through with both elbows. This keeps the body weight orientated towards their own side of the boat with wrists flat
and it helps you to avoid leaning away from the pin. If that happens, the outside shoulder, elbow and wrist drop away and you end up ‘under the handle’ with little room for the extraction. If you sit well and draw slightly back in to your rigger using both elbows, then you can ‘stay above the handle’ and not slump under it. Because the wrists are flat you can achieve a cleaner, squarer extraction.
“Try to feather away from the body, not in to the finish”
Once out of the water, the outside hand is indeed the one to move the oar away across the legs. Use the web of skin between thumb and index finger to press it away, with the fingers themselves relaxed. The inside hand deals with the feathering, but try to feather away from the body, not in to the finish.

Final comments about the inside arm at the finish – it has a good 90° angle to the handle whereas the outside hand is nearer 150° due to the elbow needing room. Therefore the inside arm can exert really useful pressure in helping to finish the stroke.
Recovery
The feathering movement involves some wrist bend, but a full 90° wrist drop is uncomfortable so try to use a little forearm rotation too. Once the oar is flat you can relax the heel of the hand from the handle during the recovery and the weight of the handle can rest under your knuckles. There’s no need to move the fingers around at all. While feathering, the fingers of the outside hand can stay in place but loose so the handle can swivel in them. All of these elements can be practised separately with drills.
“There’s no need to move the fingers around at all”
As we come to the front end and square up it’s quite common for people to push the knuckles down to produce a flat wrist. However, this causes the spoon to sky and needs a second movement to get the handle up to the water. Try to square by keeping the knuckles still and letting the wrist flatten upwards, until level with the knuckles, drawing the handle back in to the heel of the hand at the same time. This not only squares the oar but is part of the entry too – all in one movement. Rather like the release, I like the entry to come from both hands. Again, it’s possible to row the front end on inside arm only or outside arm (more difficult) – both help balance and guide the blade to the water.
The rectangle
Once your blade is in the water, a good concept is to think of your chest, arms and handle making a rectangle off the front of the stroke. This means that you will push off the legs and hang comfortably off the handle as in our water-skiing analogy. Skewing your shoulders creates a bent inside arm – which at the extreme can mean the outside hand not even being on the oar at all! The inside wrist will often be dropped too far as well. So, with this rectangle, the next thing is to make sure your fingers are properly around the handle.
Handles
Think about the handle itself and make sure it is a suitable material – if it’s too smooth and/or wet you will grip much harder than with a handle which has some texture to it. There’s a wide choice of compositions these days, from various rubber and foam materials to solid wood and wood veneer. The diameter of the handle matters too, so make sure this is appropriate for you. Handle sizes normally range from about 37mm to 45mm and the manufacturers have good guidelines to help you choose.
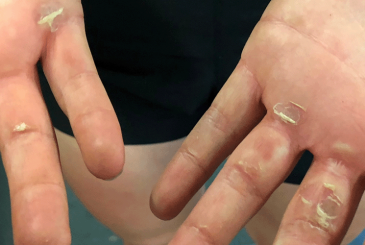
Hand spread for sweep is usually recommended as two to three hand widths, or slightly narrower than your shoulders. The outside hand needs to be on the end because this gives the best mechanical leverage but next time you are on the river try to spot how many people slip down the handle! Finally, blisters and calluses are worse if you grip too tightly and wrist injuries usually come from feathering when the oar is still loaded, so wait for it to leave the water.
Drills
Sit at the finish and tap the handle up and down to practise a square release movement. Then tap down and reach forward, feathering as the handle goes away. Try doing it at higher rates too.
Late feather and slow feather drills are useful, as well as inside arm only rowing.
This article was first published in Rowing & Regatta magazine in June 2011.
Photos: Robin Williams.