Coach consultant Robin Williams explores the recovery phase of the rowing stroke in the first of two articles
The recovery phase is an area of real opportunity when searching for more boat speed. We devote a lot of training time to fitness and strength, so that we can deliver more power and cope with the physical demands of our sport, but total hull speed is the combination of both parts of the stroke, the work and the run.
Sometimes bigger, more powerful crews lose races because they are inefficient in the recovery and harm their own hull speed, so although they deliver more watts of effort, they also apply their own handbrake! In fact, all crews suffer from this to an extent, even Olympic ones. We can’t get away from the fact that the boat decelerates at certain points, but we can do a lot to mitigate it with better technique.
Let’s take a look at the recovery, what goes on, the problems, and some solutions.
Mechanics and feel
I like to view technique in two ways – firstly the mechanical elements or ‘what’ to do, and secondly the feel, or ‘how’ to do it. Both are needed because poor mechanics will undermine length, leverage, power delivery, and depths, while good mechanical movements are just theory unless there is feel for timing, motion of the hull, balance, synchronisation, rhythm and so on. The mechanics of the recovery are pretty straightforward, and can easily be practised in the boat, on the ergo, or in a rowing tank, perhaps with a mirror so you can see it done correctly.
Unfortunately, as we know too well, the ergo is often the place where technique is ignored, and people switch off and just stare at the split! With no balance required and being fixed in one spot they don’t particularly reward recovery skill, but nevertheless do allow you to practise if you take the trouble.
In the boat the good old mantra of ‘hands-body-slide’ is a reasonable starting point, but is one that barely touches on the real skills of the recovery and here are some of the issues that we can encounter:
Seven problems
- Getting ‘ahead’ or ‘behind’ the boat speed
- Poor control of body movements
- Bad organisation of body weight and posture
- Getting out of sync with the crew
- Losing balance
- Losing control of the oar
- Mis-timing the front end
Each of these cost us speed and shave off vital centimetres of boat run. In racing, this is manifested very clearly in two ways.
Firstly, off the start, where agile and skilful crews can skip out a few metres’ advantage, linking one stroke seamlessly to the next and building speed quickly and efficiently. Inefficient crews get quickly dropped and have to work their way back into the race later.
The second is over the full race distance because the differences between one crew and the next are sometimes too small to detect over one or two strokes, but over 220 or more the inefficiencies accumulate by the end.
Biomechanics
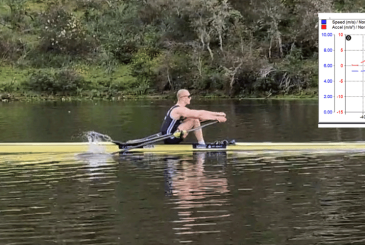
A fact most people readily know is that peak hull speed does not occur during the drive, but comes in the recovery. Below are two velocity curves (dark blue line) for a crew at low rate and again at high rate.
Example 1
You can see that the boat speed peaks in the early part of the recovery. In this case it comes once the hands have cleared away and the weight of the trunk has shifted from bows to stern, or at about quarter-slide.
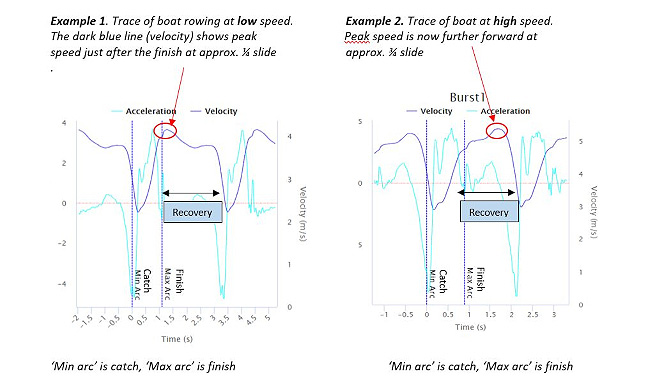
Example 2
The diagram shows that when rowing at higher speeds the peak actually moves further towards the stern in the recovery, as you can see circled red in the graphic. It is nearer the end of the slide rather than the beginning.
Because of the change of dynamics there is much less time to organise body positions for the next stroke compared to low rates – less than half the time in fact. At rate 20 there might be two seconds of recovery time, at rate 37 it could be down to 0.8 seconds or less. We do a lot of training at steady, long, low rates to build endurance, but can find it challenging to produce the skills needed at higher rates. People find it hard to keep up and faults such as cutting the finish, washing out, shooting the hands away, losing any trunk rock over and rushing the slide become common. These errors then conspire to thoroughly mess up the catch timing for the next stroke.
Tip: even in the winter it is worth doing agility drills, especially off the finish.
Agility drills
- Warm up mobility drills: body rocking
- Short-slide rate builds, at a quarter-slide for instance.
- ‘Cutting the cake’ drills (ie double-hands away movements, or double-hands/body) at higher speeds
- Rate variations
- Starts (eg, when turning on a 2k lake, you could do a 50% start)
- Legs-only rowing at higher rates
These agility drills can be put into your warm-up and warm down, or when you make a drinks stop mid-session. They will help make a long UT session brighter and more interesting, but without changing the endurance aims for the workout.
Oranges
Biomechanics and expensive telemetry systems can generate the kind of graphs above and show us the problems. We know we have to move steadier or faster, but by how much?
“The vital fault to avoid is to slide too fast, stop and have the trunk keep tipping forwards at the entry”
A low-tech idea is to drop an orange in the water at the finish of your stroke and see how fast it travels along the side of the boat – it shows the boat’s speed through the water and indicates how fast to move in order to be ‘with the boat’. Your arms stretch out across your legs at the right speed and the trunk is naturally the next segment to lengthen (rock over).
These two movements should reflect hull speed, keeping up with the orange. The critical next part is the slide and how quickly the legs should move. Imagine arriving at front stops opposite the orange: that would show that you have matched the hull all through the recovery. Remember to pick up the orange afterwards and not pollute the river! This is an example of the mechanical sequence of hands-body-slide, but with some feel added to the basic movement.
The idea for the slide is to be in neutral like a car out of gear with the speed of the wheels coming from the hull speed not the person. In fact, don’t slide at all; just let the boat slide under you and turn your wheels until front stops. The vital fault to avoid is to slide too fast, stop and have the trunk keep tipping forwards at the entry. I’ll look at this further next time when we consider mass and momentum.
- Another low-tech tip is to look out at the bank while rowing. As your knees break, pick out an object like a tree root or piece of grass and observe that during the slide you appear almost stationary, relative to the fixed object.
- Slide pauses at a quarter, half and three-quarters slide at different rates and see if you feel balanced and under control or whether you put weight against the stretcher to get your mass composed.
The first half of the recovery is for you, the second half is for the boat
In other words, the mantra above is a message to organise your own movements in the early recovery and especially hands and bodies. Then, once the knees are unlocked and you are roughly in the quarter-slide position the athlete preparation should all be done except for the slide. The boat will glide under you, however, so the rest of the recovery is just that – rest. Time to breath, relax shoulders, and enjoy a little thinking time to anticipate what is going to happen at the entry. It allows the upper body to be balanced on the lower body and be ready.
Useful reminders
- First half of the recovery is for the rower, the second half is for the boat
- Let the boat come to you
- Move with the boat
- Prepare early, especially for higher rates
- The upper body creates length from the finish; the slide creates the rest. ie, don’t over-reach or lengthen at the catch
- Stay in range – effective length is better than going for as much as you can
- The entry is the last bit of the recovery, like when you do a static roll-up with the spoon.
Control of the oar
So, we’ve looked at moving with the hull speed, but there are one or two steps even before that.
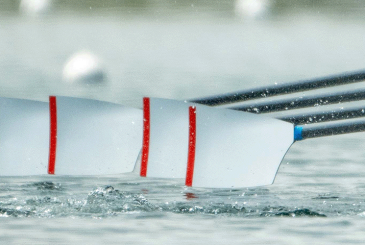
Control of the oar once it leaves the water is important. Feeling the weight of the oar or sculls in your hands sounds simple, but how often do we see the spoon exit the water and then flop back on it or touch it as the hands away begins?
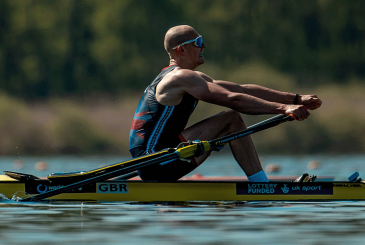
The height off the water should be sufficient that at any point there is room to square the spoon without hitting the water. People, especially single scullers, often row with blades close to the water, but inevitably they have to push their hands down again at the front to make room to square it. This is poor technique because it creates imbalance in the boat, tension in the shoulders and – most importantly – destroys the true timing of the entry. You’ll be late in other words. Look at Zac Purchase sculling and you’ll see straightaway.
The other fault which goes with this is posture – if the hands drift up usually people don’t fully rock over, but stay sitting on their coccyx. So, be diligent about hand heights!
Drill 1: Finish taps with a stationary boat; getting used to the inboard weight of the oar and how much downward pressure is needed for the extraction; repeat at front stops.
Drill 2: Square-blade rowing with feet out is a great drill. It’s not an easy one, but it really shows if you have control of your own movements and the oar. For reference, I made a couple of videos during lockdown where I talk this through. Watch video 4 and 5 on the recovery here.
Once you can have control at the finish, you are more likely to do so at the catch (and vice versa).
In part 2 of the recovery, I will look at more of the seven problems listed at the beginning and also mass and momentum, posture, and timing which are all crucially important.
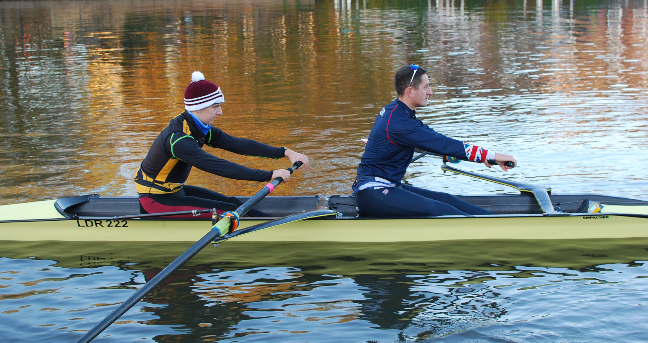
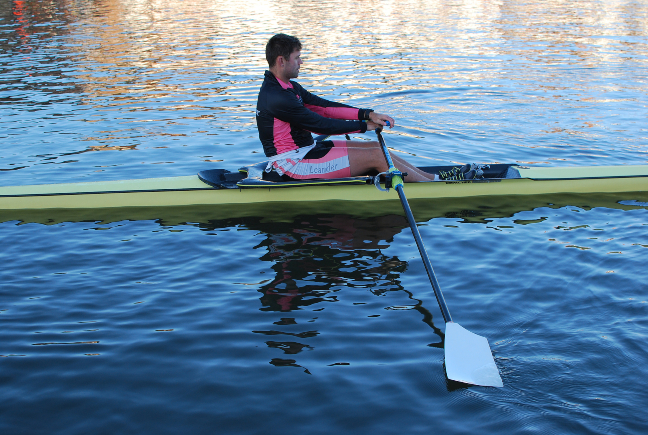
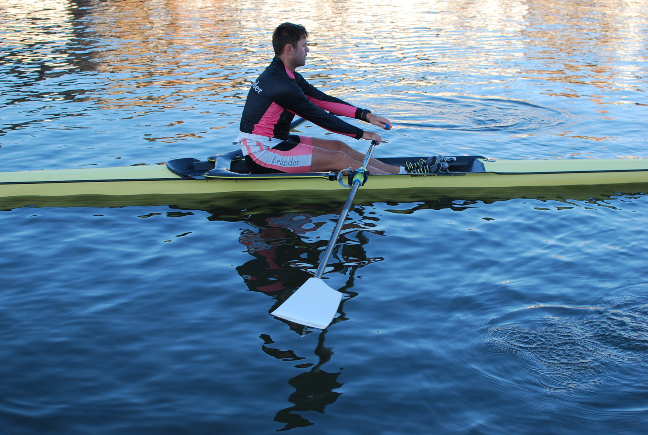
Photos: Robin Williams