Still photos are a great starting point for agreeing a common language and improving technique writes Olympic coach Robin Williams
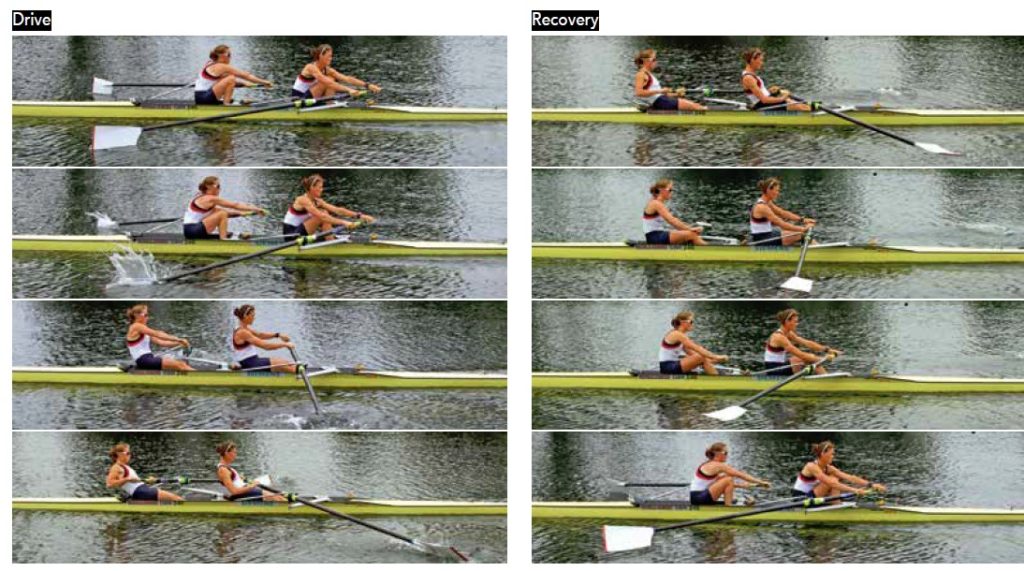
Still photos are useful for technique analysis – when arranged as tiles on an A4 sheet they make a handy reference for rowers comparing how they look from one bit of the stroke to another, and how things improve as they get better over time.
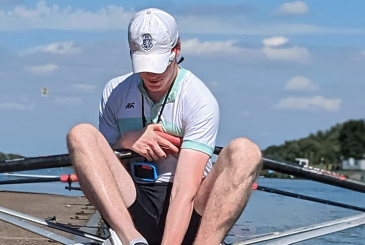
For instance, you might make up a set once a month, either taking freeze frames from video or just stills from a normal camera and copying them into a document like Word (see example) for easy viewing. These can build into a library of data. Typically you need four or five shots for the recovery and the same for the drive phase. Although this idea is nothing new, it is simple and allows you to check positions and angles of legs, trunk, arms, oars etc, which are all important.
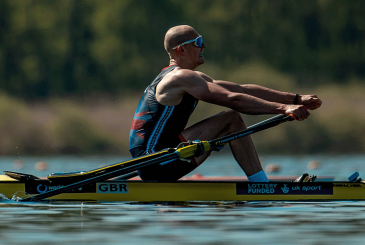
Here, I’ve chosen a sweep example during the mid-drive. These photos have been taken in a live situation – i.e. the crew is actually rowing, not just staging the positions for the camera – but I do sometimes use a stationary boat to start with and say to an athlete “sit still in your best ‘gold standard’ position’ at the catch, mid, or finish position”, then take the picture. The rower very often displays great ‘technique’ this way but there is very little skill involved because actually the task is quite easy. A static stroke compared to a moving one is like a still photo versus a video, but it is a useful start; something to aspire to.
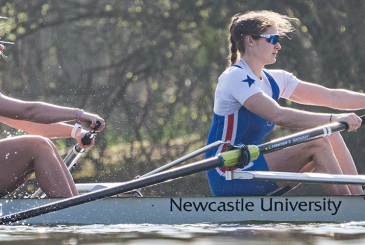
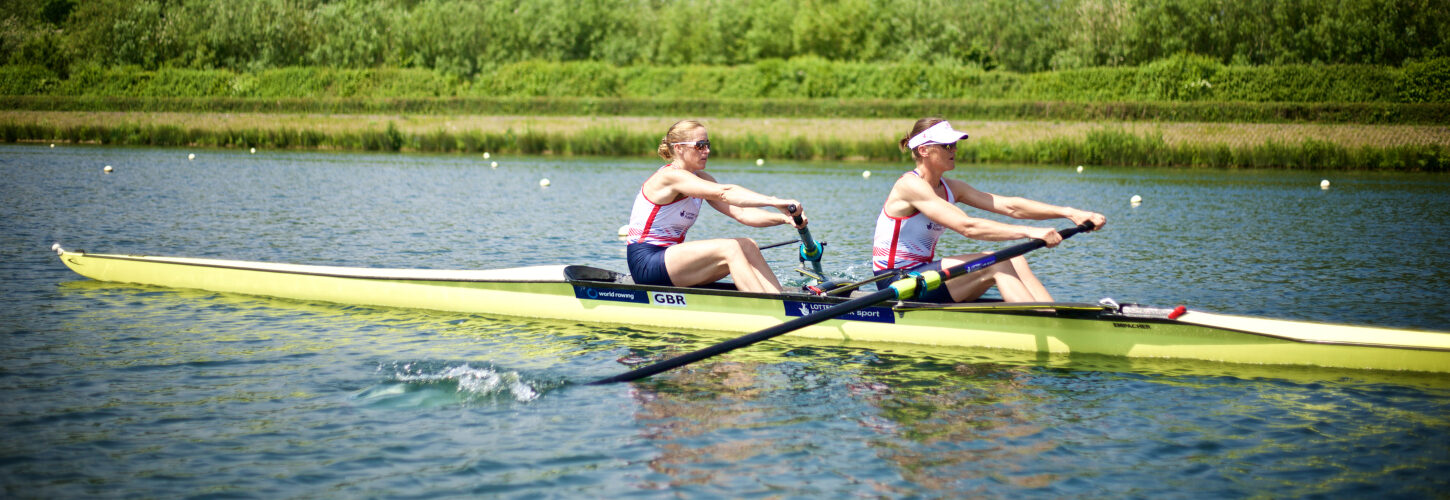
So, in our main photo (above), Helen Glover and Heather Stanning are in an early drive position – but what are they doing, and moreover what are they trying to do? I say ’trying’ because the first stage of improving technique is to have a clear picture of the movement you intend to make – it won’t necessarily happen exactly that way until you’ve practised a lot, but having the picture and the intent is the important first step.
Questions
Q1: Are they pushing or pulling?
Q2: What muscles are working?
Q3: How does the boat feel under them?
Q4: What does the pressure in the footboard, handle and seat feel like?
Q5: How quickly are things moving?
Answers
Q1: Well, they are definitely trying to still push here. You can see that their backs are still forwards – i.e. in front of the hips – and their arms are still out long. This is still the loading part of the stroke so the legs are where the movement is occurring and indeed they have been doing that since the stroke began a moment earlier.
Q2: The back is nevertheless working really hard because although the legs produce the bend on the oar, they cannot do this unless the back holds strongly. So sitting up in the hips and keeping the lower trunk muscles firm (especially the abdominals) is vital. You can see that they have slightly different back shapes, but if you look at the front on the trunk the angle is the same. This is a good thing for coaches to look at because people are shaped differently in their backs, so check out the trunk shape as well as the back shape.
Q3: The boat will feel part of them. In other words if they move, it moves. It will feel particularly well connected to the hips. It’s very common to see ‘fast legs’ translating into ‘legs going down faster than the forward speed of the hull’.
Q4: Their feeling is one of pushing (legs), bracing (trunk), holding (arms), suspended (hip weight) not completely off the seat but light on it. The effect on the hull they are looking for is to ‘prise’ it forwards so the handle will only move if they are moving the hull.
Q5: Up to now the development of the power has been quite patient. At the catch the blade enters relatively slower moving water due to the catch angle, but as they approach the mid-stroke the speed of the hull past the water is starting to feel quicker. Any moment now that strong back pressure holding against moving legs will translate into moving legs AND moving trunk (i.e. pulling as well as pushing) and the handle will begin to overtake the seat. This part of the stroke is also where you can safely commit as much work and effort as you like because it will only make the boat faster. It’s hard to slow the boat here unless you let go of the connection in your hips, or let your knees go and lose the push on the stretcher. However, no arm pull just yet.
So what happens next? Well, as soon as your trunk overtakes your hips you have two problems. One is that the whole system is moving faster so you have to be very dynamic to maintain your own connection (i.e. bend on the oar). The second is that gravity is going to press you down heavier on the seat and therefore press the hull down more in the water. Coping with this is a matter of practising good co-ordination between legs / trunk / arms so rowing or sculling with a third slide from backstops is a good drill. A short stroke like this is over quickly, so your window for getting connected and combining the three segments is brief.
In terms of common technical language I have put key words in bold again to suggest some vocabulary. The descriptive process starts with agreeing broad concepts about how to move the boat – e.g. pushing vs pulling – then marrying up the factual mechanical technique (still pictures) with the challenges of doing it on the move, with timing, rhythm and togetherness.
At a glance
Still photos or freeze frames from video can be very useful for technical analysis. As a starting point, have a look at the main photo of Helen Glover and Heather Stanning in the early drive position.
Consider the technical language that describes their movement – pushing, bracing, holding, suspended.
The first step in improving technique is to have a clear picture of the movement you are trying to make.
Why not take photos or video of your own technique so you can check positions and angles of legs, trunk, arms and oars during the stroke? You can create a library of visual data to chart your progress.
This article was first published in Rowing & Regatta magazine in June 2013. Download the original article >>
Photo: Naomi Baker